Foundations reference: first principles of cooking

Foundations Hub

Build confidence with heat, preparation, flavor, and timing.

Foundations Hub

Overview

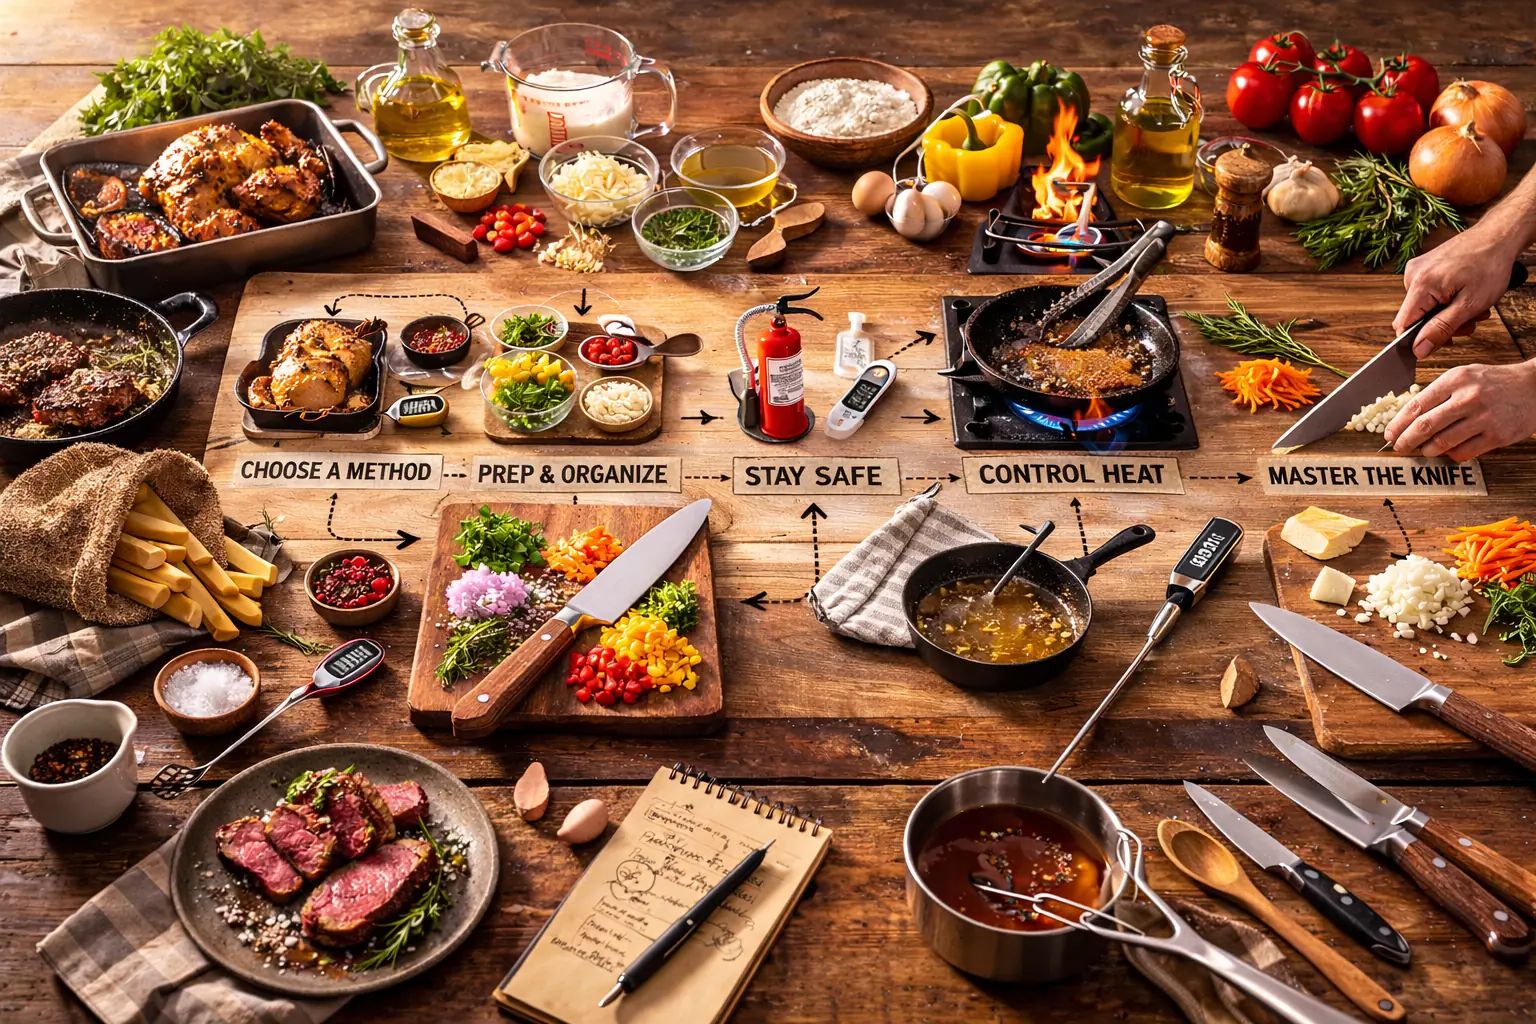
Learn the habits that make cooking easier: prepare your ingredients, choose a suitable method, manage heat, and check your progress. Start with one skill and put it to work in your next meal.

If you want a guided path, start with How to Use.

What it controls

  • Method selection: dry vs moist heat, agitation, and sequencing.
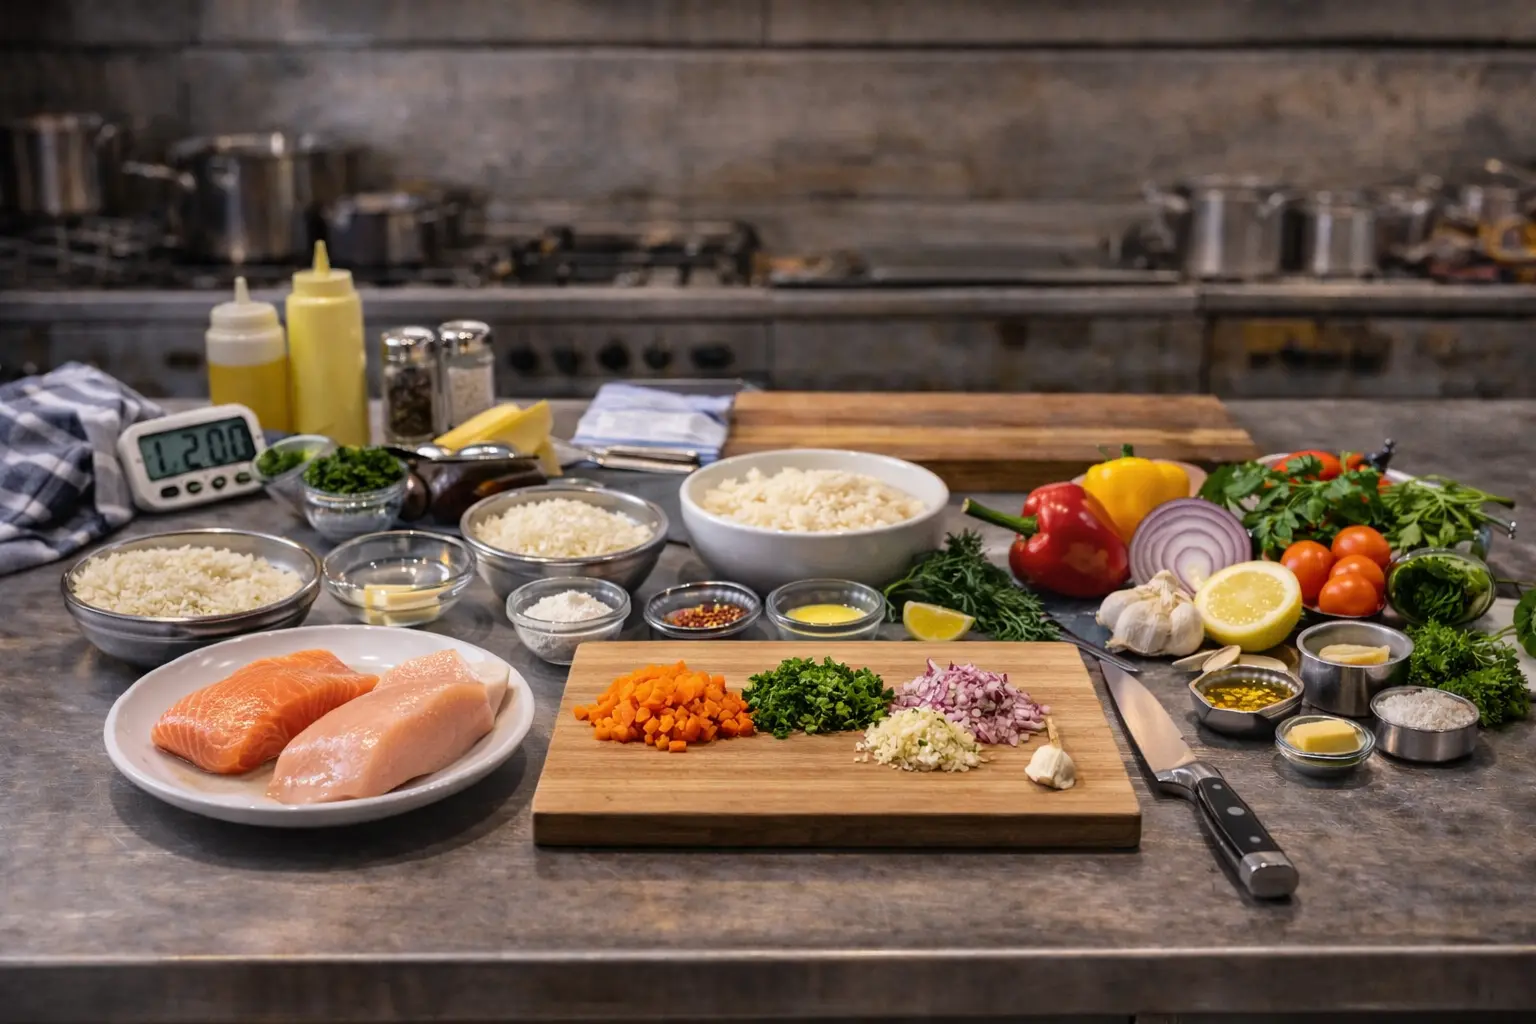
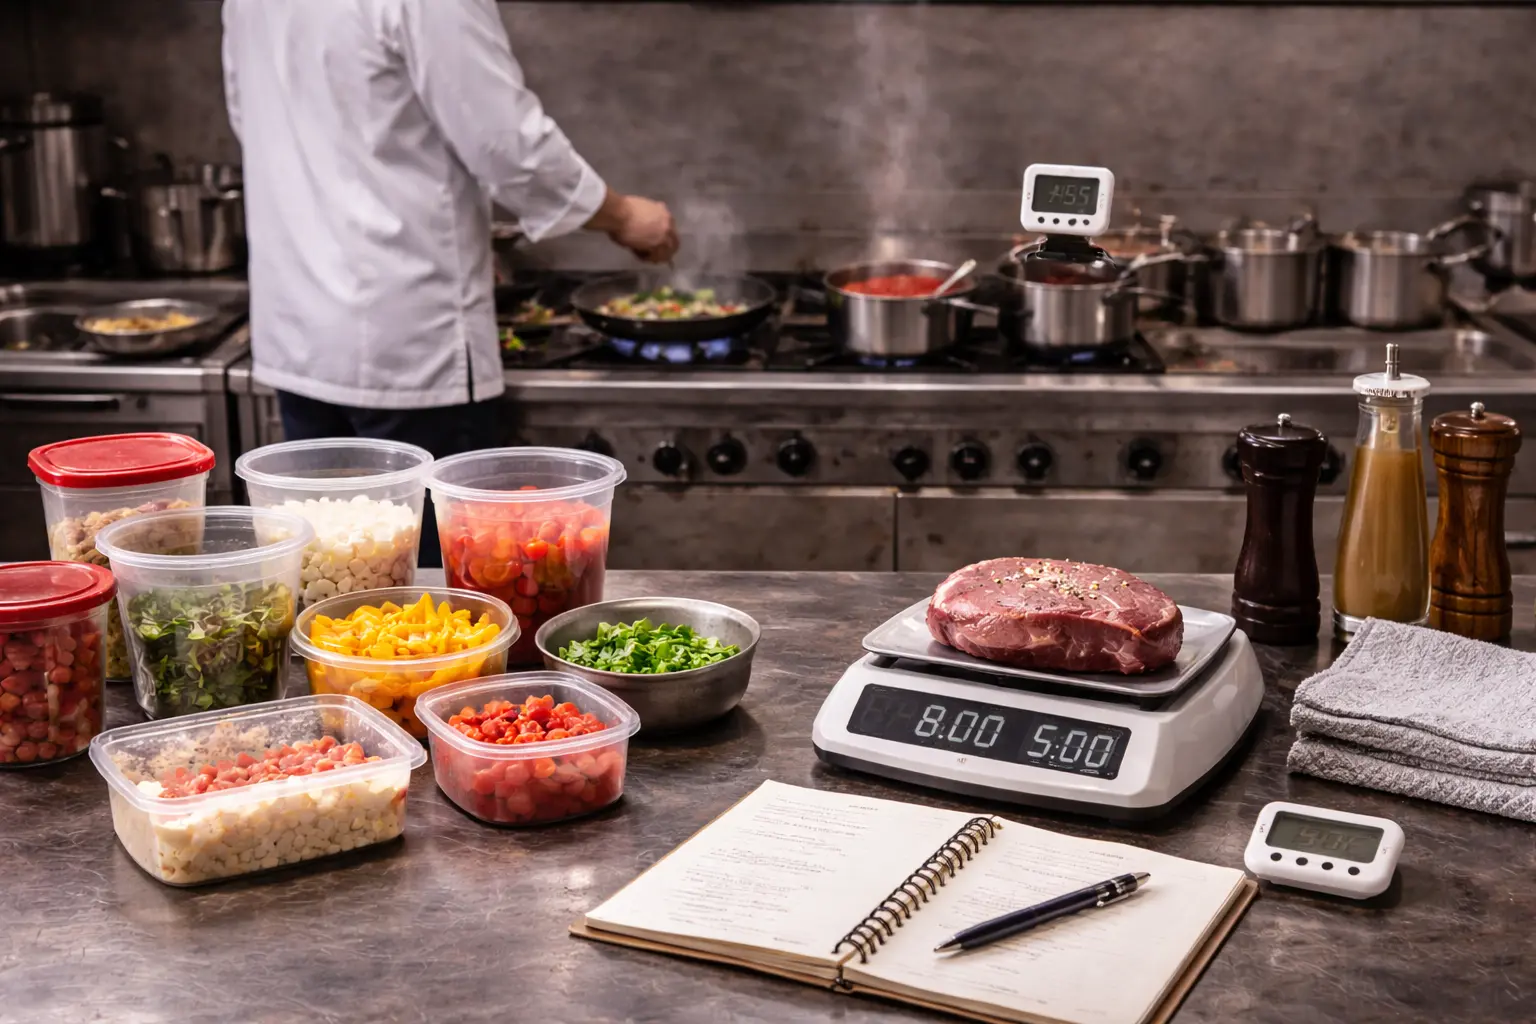
  • Mise en place: timing, staging, and error prevention.
  • Heat control: preheat, load, recovery, and endpoint management.
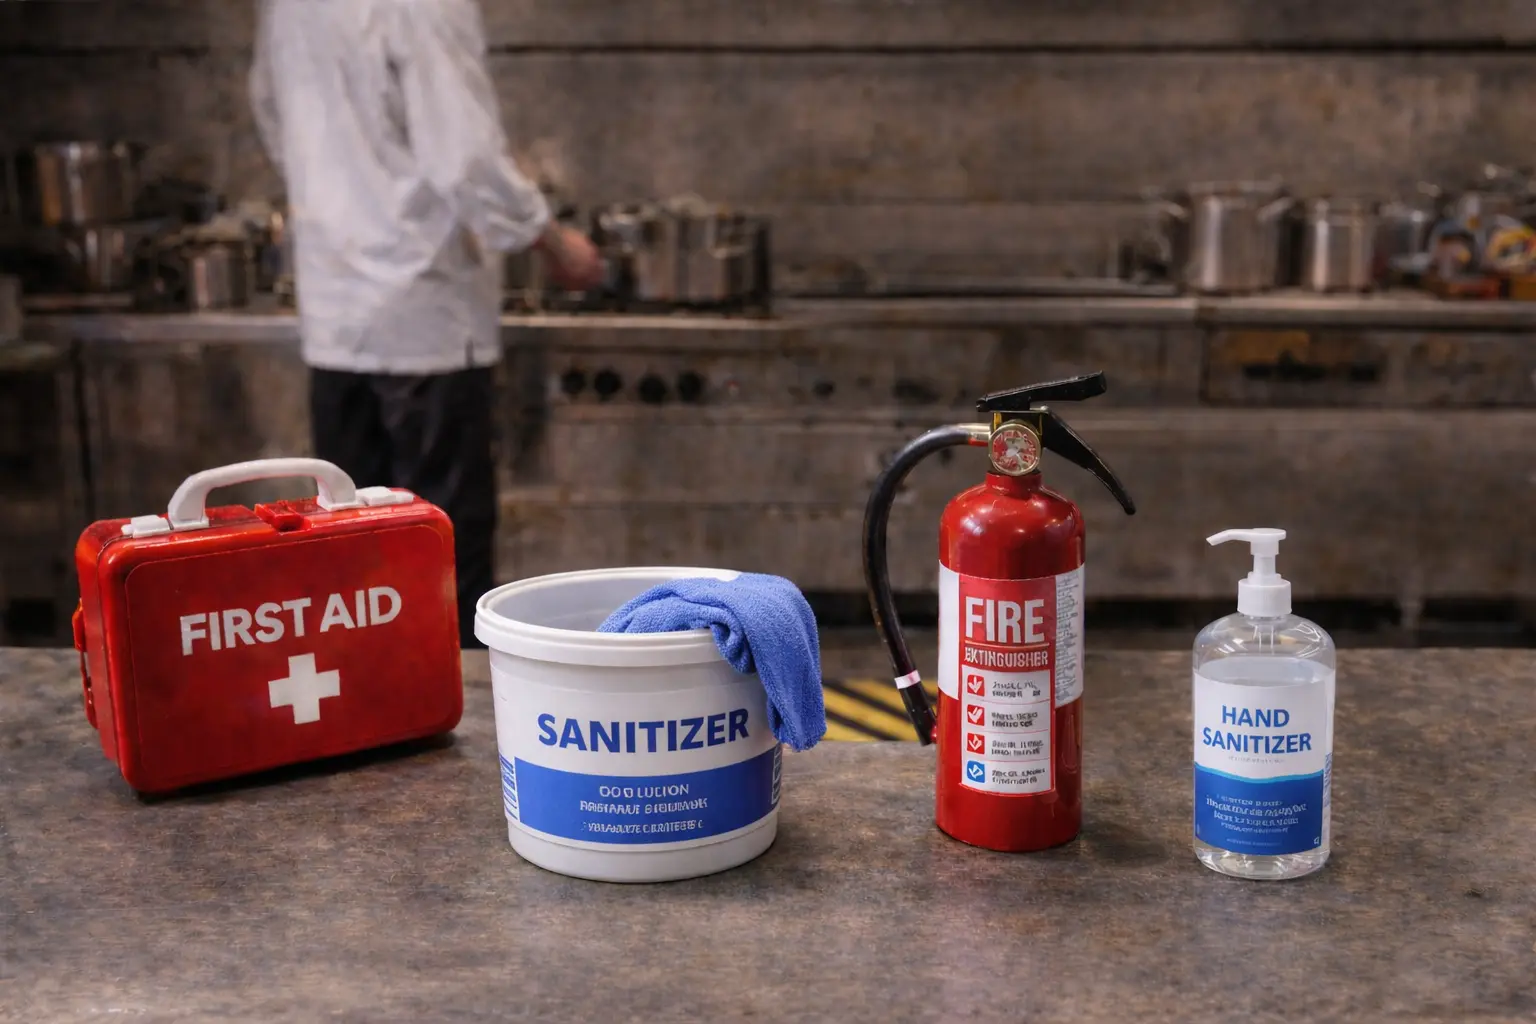
  • Safety + sanitation: contamination prevention and holding rules.
  • Consistency: repeatable outcomes across equipment and environments.

Start path

Decision rules

Foundations is about making fewer mistakes upstream. When you choose the correct method and stage the work, most “hard” recipes become straightforward.

  • Match the method to the ingredient: choose a method for the cut and the result you want; tenderness alone does not determine the best cooking temperature.
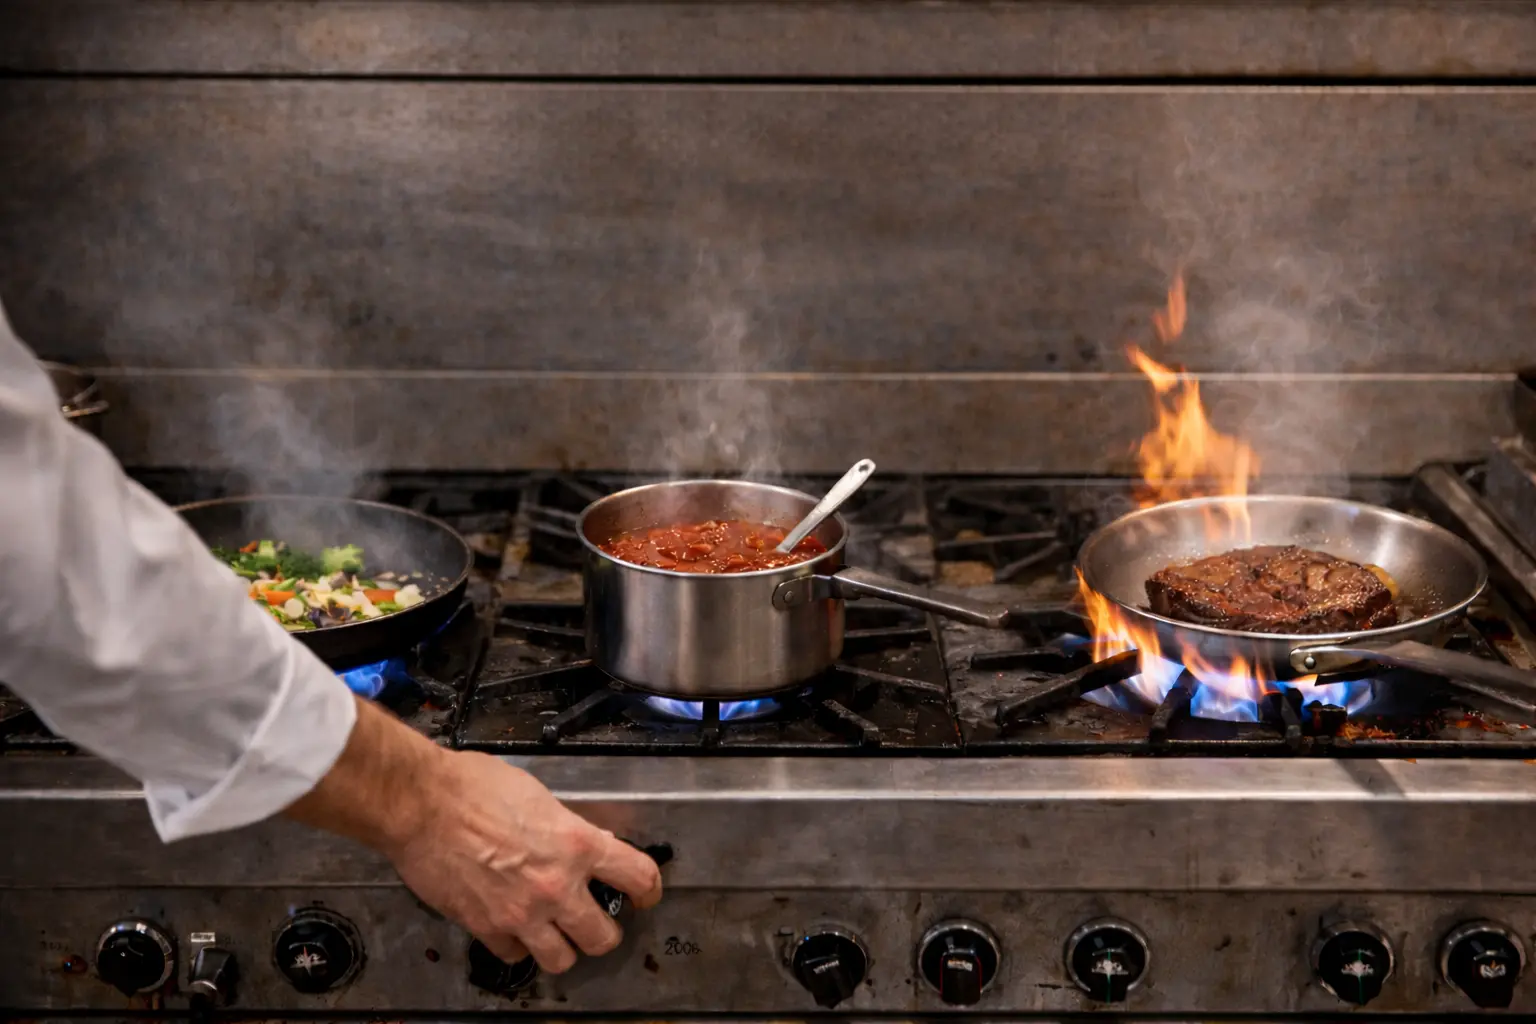
  • Control heat with contact: consider preheating, the pan, and how much food you add alongside the recipe’s timing.
  • Dry before browning: excess surface moisture delays browning.
  • Verify endpoints: use the recipe’s time as a guide, then check the appropriate temperature and texture cues.
  • Rest is part of cooking: carryover changes the final doneness.
Fast start checklist (before you turn on heat)
  1. Read the endpoint: what texture and doneness are you targeting?
  2. Pick method + vessel: will you brown, steam, poach, roast, braise?
  3. Stage tools + ingredients: salt, fat, thermometer, timer, resting surface.
  4. Plan the last 5 minutes: rest, finish, garnish, and serving temperature.

Common failure modes

Heat

Browned too fast

Heat too high or sugar/fat burning. Fix: lower heat, shorten sear, finish gently, verify dryness.

Moisture

No browning

Surface wet or pan cool. Fix: dry, preheat, reduce load, increase airflow.

Timing

Overcooked interior

Endpoint missed + carryover ignored. Fix: pull earlier, rest, use thermometer.

Workflow

Everything finishes at once

Mise en place missing. Fix: stage, pre-portion, and sequence tasks by longest process first.

Resolver: Diagnostic Mode and Corrections.

How to use Foundations

Foundations is the “decision layer.” Before you start cooking, you make a small set of choices that determine whether the cook will be forgiving or fragile. This hub is designed to be used in two modes: understand (build a mental model) and operate (solve a problem fast).

Operating mode (solve a problem in 2 minutes)
  1. Define the endpoint: what texture/doneness/finish should it have?
  2. Choose method: dry heat for crust and speed; moist/combined for tenderness transformation.
  3. Stage checkpoints: preheat, first flip, finish, rest, and plate/hold.
  4. Validate: use thermometer + sensory cues; don’t outsource control to the clock.
  5. Correct: apply the smallest lever: heat, moisture, load, time, or rest.
Learning mode (build the model)

Read one Foundations page, then do a short rep that isolates a variable. Example: after Heat Control, practice preheating and load management on a simple vegetable. After Method Selection, compare a tender vs tough cut using two methods. Keep notes on what changed and why.

Control loops

A kitchen is a feedback system. The faster your feedback loop, the easier cooking becomes. Foundations trains you to build short loops: set → observe → adjust.

  • Heat loop: preheat → listen for sizzle → adjust load → recover temperature.
  • Moisture loop: dry surfaces → watch for steam → vent/space → brown.
  • Seasoning loop: salt base → taste → acid lift → taste → fat round → taste.
  • Timing loop: check early → verify endpoint → rest/hold → finish.

When a dish “mysteriously” fails, it’s often because the loop was too slow (you waited too long to check).

Featuring: Hospitality & hosting

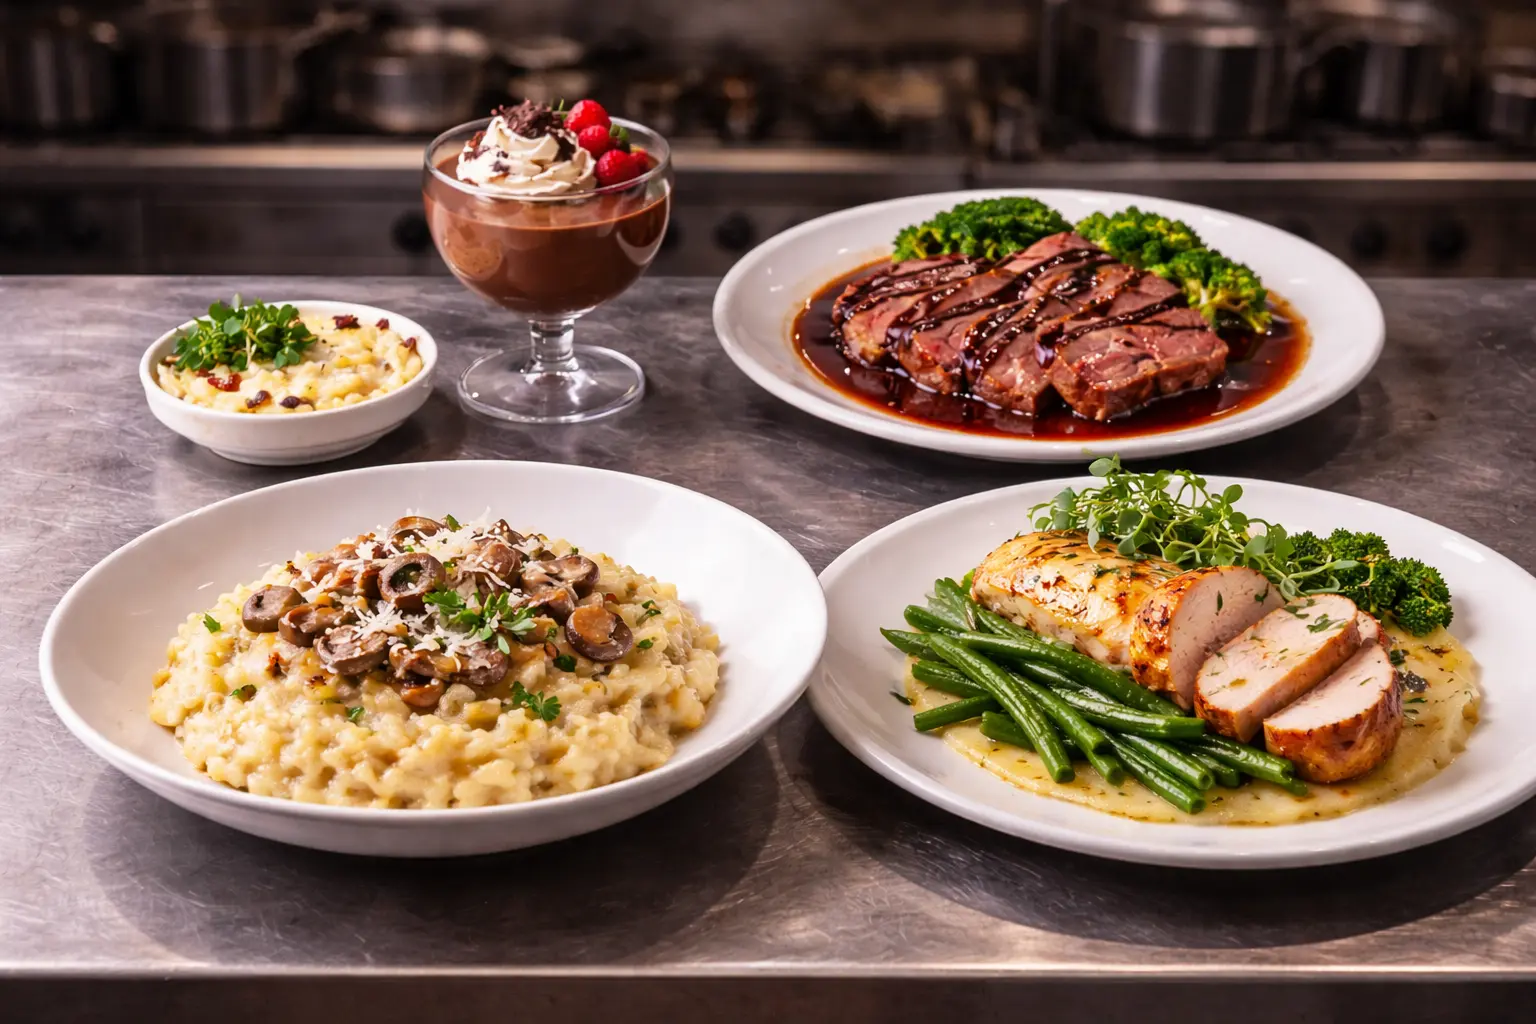
Great cooking is more than technique — it’s the ability to serve food at its peak. Hosting is an applied Foundations problem: sequencing, holding, reheating, and plating so a good cook reaches the table intact.

Use Hospitality & Hosting when you’re planning a meal for guests, coordinating multiple dishes, or trying to serve hot food without stress.

Host’s checklist (what pros do automatically)
  • Choose at least one dish that can hold well (braise, soup, roast) so not everything is last-minute.
  • Plan the last 10 minutes: rest, rewarm plates, garnish, sauces, and serving tools.
  • Hold hot foods intentionally (covered, low oven, warm vessel); hold cold foods cold (ice bath, fridge staging).
  • Do a “table walk” before service: plates, utensils, napkins, serving spoons, and drinks ready.

Foundations decision tree

Use this when you’re not sure what to do next. It’s not a recipe — it’s a routing system.

1) Identify the ingredient state
  • Tender (quick-cook): high heat methods are available.
  • Tough (needs transformation): time + moisture methods are required.
  • Delicate (narrow window): gentle heat and tight endpoint control.
2) Choose the outcome (crisp, juicy, tender, saucy)

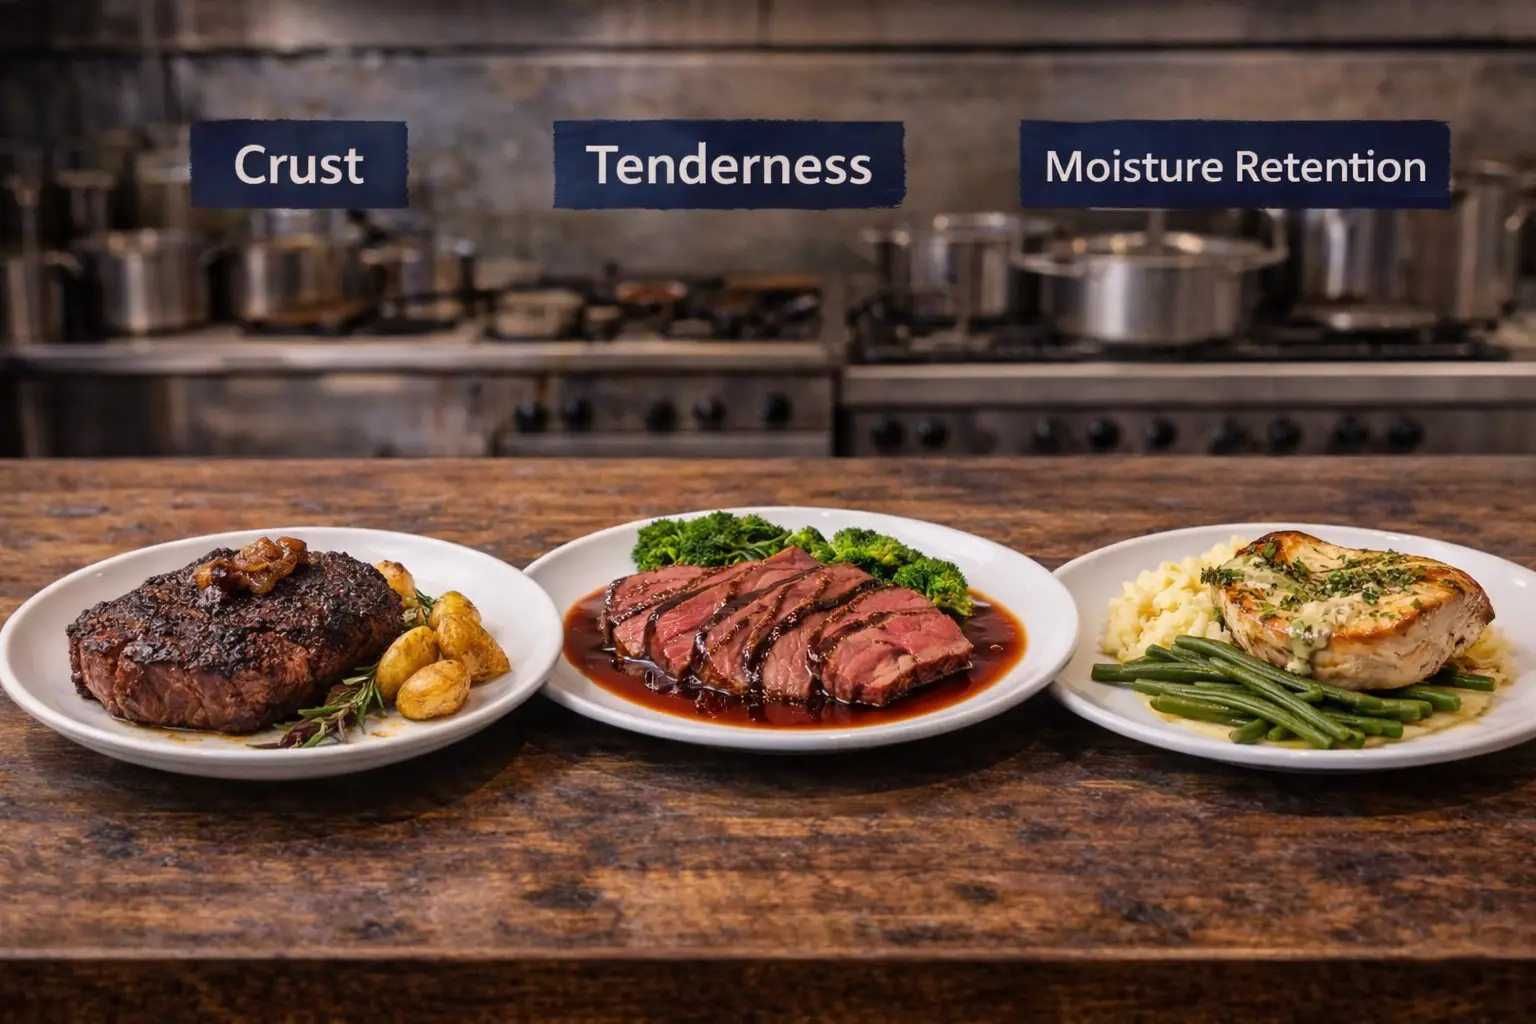
If you want crisp, you need dryness and airflow. If you want juicy, you need endpoint control and rest. If you want tender from a tough cut, you need time at gentle heat with moisture.

3) Choose the method and checkpoints

When you know the routing, you stop “hoping” and start steering.

Consistency across environments

Your kitchen changes: different pans, different burners, seasonal humidity, and ingredient variation. Foundations gives you controls that survive those changes.

  • Measure when it matters: scale + thermometer convert variation into repeatable outcomes.
  • Use cues: sizzle, steam, aroma, color, viscosity, and texture are real-time feedback.
  • Standardize salt and acid: pick one salt type and know its behavior; add acid in controlled steps.
  • Batch size awareness: “double the recipe” is a method change. Heat and cooling behave differently in bulk.

Taste & balance loop

Most “bland” or “off” dishes are not missing one ingredient — they’re out of balance. Use a controlled loop: salt base → acid lift → fat round → aromatic identity. Always adjust in small steps and re-taste.

Practical sequence
  1. Salt until the main ingredient reads clearly.
  2. Acid until the finish is bright and “alive.”
  3. Fat if the dish is sharp or thin; fat carries aroma and adds cohesion.
  4. Aromatics last: herbs, spices, zest, or finishing oils for identity.

Related tool: Seasoning & Balance.

Pre-cook plan

Before you cook, write (or think) a 5-line plan. This prevents the common “everything happens at once” failure.

  1. Endpoint: what does done look like?
  2. Method: dry / moist / combined — and why.
  3. Checkpoints: when will you check (preheat, first flip, finish, rest)?
  4. Holding: how will you hold food safely and at peak quality?
  5. Finish: sauce, garnish, plating, and serving temperature.

Batch size scaling

Scaling changes physics. A doubled batch cools slower, heats slower, and often needs different vessel geometry. Treat “double the recipe” as a technique change: adjust container depth, spacing, and checkpoints, and verify with measurement.

Parallel timing

When a meal has multiple components, timing becomes the main skill. Professionals don’t “cook faster” — they sequence. Start the longest process first, then layer in shorter processes, and protect the last five minutes so finishing and plating are calm.

  • Anchor: start with the item that takes longest and holds best (braise, roast, beans, soup).
  • Support: prep and cook mid-length sides next (grains, roasted vegetables).
  • Fresh: finish quick items last (greens, delicate fish, pan sauces).
  • Hold: decide how each item will wait (covered, low oven, warm vessel, cold holding).
The “last 5 minutes” plan

Write the last five minutes like a script: rest protein, warm plates, finish sauce, garnish, wipe rims, serve. If you don’t plan the last five minutes, you’ll improvise under pressure and overcook or cool the food.

Practice references

Build confidence with practical checklists, cooking exercises, and examples.

What this helps you control

Goal

Turn Index into a repeatable system: inputs → process → controls → outcomes.

  • Predictability: your process produces the same result when inputs match.
  • Timing: when each step happens and what can hold without damage.
  • Heat + moisture: the two dials that change texture fastest.
  • Salt, acid, fat: the balance levers that define “finished.”

Process standards

Use these as “defaults.” Deviate intentionally and only when you can name the tradeoff.

  • Set a finish target before you start (texture + doneness + serving temp).
  • Choose one primary control dial (heat, time, thickness, agitation) and protect it.
  • Stage tools and ingredients so the next 3 actions require no searching.
  • Use a single checkpoint mid-way (look / sound / feel) to decide adjustments.
Helpful hint

If you feel lost mid-cook, return to a single dial: heat, time, thickness, or agitation. Stabilize one, then adjust the rest.

Failure modes & recovery

Most “bad outcomes” are predictable. Use the signal, then apply the smallest correction.

Failure modeSignalRecovery
Rushed sequencingFood finishes before the room is readyHold the component that tolerates holding; delay the fragile component.
Heat driftPan/pot gets too hot or too coolReset: pull off heat 30–60s, then re-enter at target power.
Under-seasoned finishTastes flat at the tableAdd salt in small increments + a micro-acid correction.

Practice lab

How to use this set

Answer quickly, then read the explanation. Repeat until you can predict the correct choice before you click.

Quick self-check

1. What does a “finish target” describe?

2. Which dial changes texture fastest in most cooking?

3. How should you decide when to check cooking progress?

4. Best first recovery when the pan is running too hot?

5. A quick way to fix ‘flat’ flavor at the end:

6. The point of mise en place is mainly:

One useful next step

Turn what you learned into a meal

Choose a recipe, revisit the skill, or compare an optional tool. Open only the detail you need.

01 · Review when needed

Build your core cooking skills

Show the supporting guidance

Keep the explanation handy while planning the meal. Reopen it whenever a step needs clarification.

Explore the guide

02 · Try a recipe

White Bean and Kale Soup

What to check first

Read the full ingredient list and method, then decide whether this dish fits your kitchen and the meal you want to make.

Get the recipe

Advertisement

Was this page helpful?

Share an opinion or suggestion (optional)

Welcome to Harvest²Cuisine

Your farm-to-table resource center

Step 1 of 6

01 · Start here

One place to read, cook, and learn

Follow a magazine article, choose a recipe, and use the kitchen reference when you need the reason behind a step.

  1. Choose a dish or a topic.
  2. Review the method and supporting skill.
  3. Check the tools, then return to the recipe.

You can skip this introduction and reopen it from Website tutorial anytime.

From kitchen skill to useful home style

Choose what comes after this culinary foundation

Keep the next step practical: serve it calmly, use what you own, make one useful detail, or improve the household gradually.